The list of things to do was long, and the sailing season short, so every spare moment in June was spent getting the boat ready to launch.
One of the first jobs I took on was the tiller and rudder. I didn't like the look of them, and wanted to make sure they would not give me trouble down the road. My concerns were confirmed when I removed the connecting bracket from the tiller and discovered that he wood was beginning to break up. I had to rebuild the area with epoxy to ensure that it would not fail me some windy day.
 |
| While sanding and finishing, a problem was found with the tiller. |
The 900 pound iron keep was getting rusty, so I cleaned it off and applies some rust paint as a temporary measure to get through the season.
 |
| The rusty keel rest on a solid plank taking most of the weight on the trailer. |
The holes were drilled through the hull for the marine toilet. That was a scary process. I don't like putting holes in an otherwise good boat.
 |
| The intake for the head, and sender for the knotmeter. |
A coat of anti-fouling paint had to be applied. That was another protector for the keel, I hoped.
 |
| A freshly coated bottom. |
There was a deep scratch in the gelcoat, but I knew about that before I bought the boat. I found a repair kit, and that took care if it, as well as some other wear marks from lines in the cockpit.
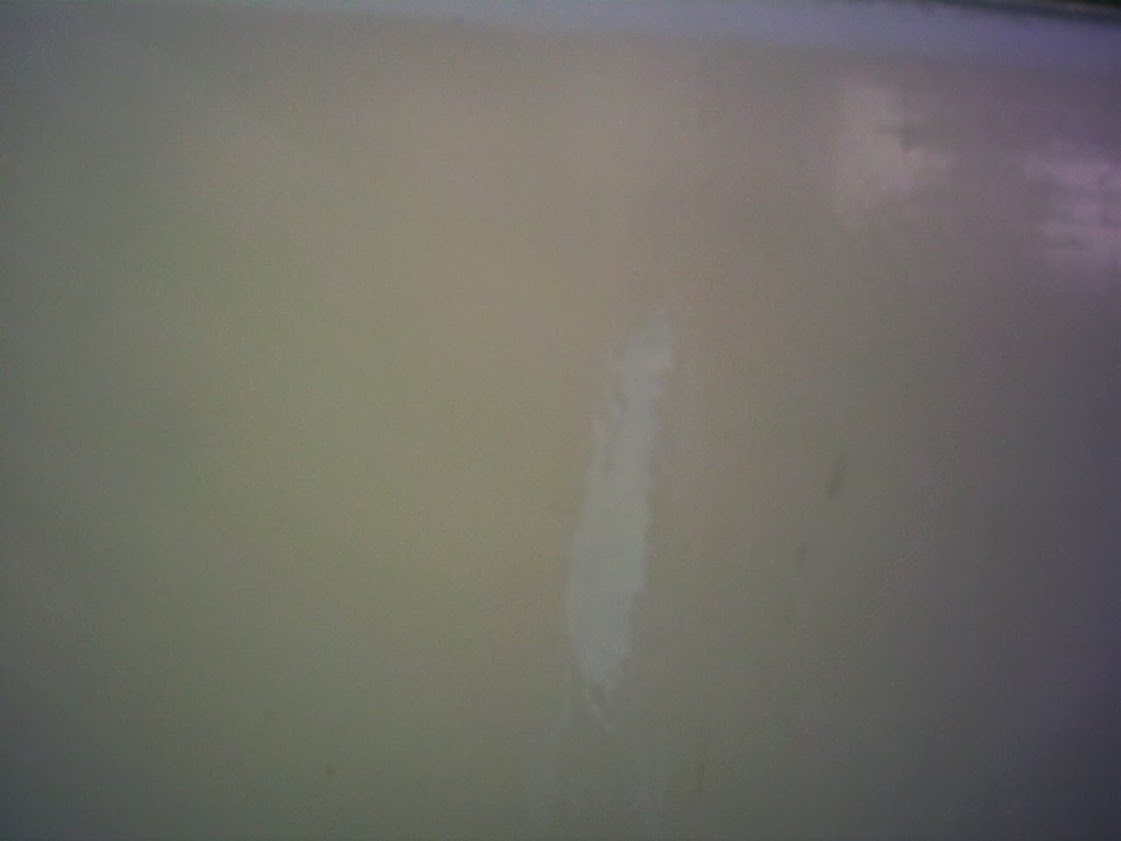 |
| The repair was initially much whiter than the surrounding hull. |
The wood was all sanded down, and given a coat of Cetol.
 |
| All wood cleaned, sanded and coated. |
A new deep cycle marine battery was installed and a solar panel attached to it for charging.
 |
| New battery secured. |
The hatch had no adjuster, so I put on on using existing holes, but it is not the best angle for it. Eventually, I may change it, but it is better than none now.
 |
| The hatch can now stay open. |
The compass will need a cover before the sun totally ruins it. The boat looks like it once had a spinnaker, but none of that gear came with it. All the superfluous hardware was removed.
 |
| No compass cover, and a clam cleat removed. |
One of the bigger projects was making a new sole for the cabin. Proper repair of the soft spots would keep the boat out of the water for an extended period, and maybe all season. After weighing various options, I decided to just lay some 3/8 plywood down on top of it. If it worked, I at least had something temporary, if it didn't then I had some plywood for another project. The results were promising.
 |
| 3 sections of 3/8, good one side exterior plywood |
I wanted to do it in two pieces, but I could not get the port section to drop into place, so it was cut in half. Now all three sections are easy to drop in and take out for access to the bilge. I didn't do any finishing at this point, since I wanted to make sure it still fit after the boat was in the water.
There were a few jobs I was even able to get my wife to help out with.
 |
| Making the anchor look better. Speedboat is in the water. |
The marine toilet I installed, had been in a boat that burned, so it only cost me $10. It was an old Brydon unit, however, so I could not track down any new parts for it. If there are every any serious problems with it, an entire new head will have to be purchased.
 |
| Much better than a porta-potty, even if it is an obsolete brand. |
One of my last pre-launch projects was the rudder. It was ugly, and didn't kick up, like it was supposed to.
 |
| Mostly apart |
It was taken completely apart, sanded, coated with epoxy, covered in Cetol, and put back together.
 |
| Reassembled |
A tiller extension was added to make steering more comfortable.
 |
| Back on the boat and mated with the tiller. |
Serenity was starting to look like a boat. It was time to get her wet.
 |
| Wood coated, new compass cover. Getting shipshape. |

No comments:
Post a Comment